Starting a Blog in 4 Easy Steps – Self-Hosted
Share This Article
Here are 4 easy steps to starting a self-hosted blog. These steps will get you ready with the technical aspects of creating your own self-hosted blog.
You’ve decided you’re starting a blog. You’ve picked your niche and know what you want to write about. You’re pumping and ready to go. But how do you get your nice shiny new idea for a blog online? Are you a bit daunted with the process and how to get started with a blog?
This guide will hopefully, help you with getting online the fastest and easiest way possible.
Starting a Self-Hosted Blog
I am about the self-hosted life. It’s all I have ever done, so it’s what I recommend. Self-hosted simply means you have a hosting plan with your own domain name and you manage those aspects of your site, yourself. It’s not free. It’s also not as hard as you might think.
If you want to have control of your own site and being able to manage it on your own terms, you’re in luck today.
For those who don’t want the self-hosted option, there are platforms out there, to host your blogging site, possibly for free. There are some downsides to that option, but it can be good option for people on a budget of maybe, $0, who just want to blog.
So I can discuss that in another post.
4 Steps to Starting a Blog
1. Get a Web Hosting Plan
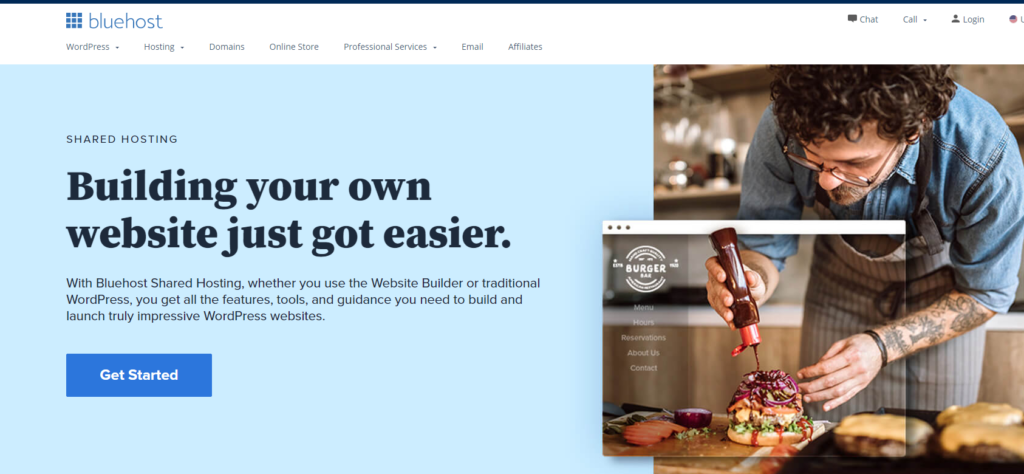
Find a webhosting company to purchase your web hosting plan and your domain name from. Some companies, like Bluehost, offer you a domain name free for the first year, so this lets you start off with some extra savings. After many years of trying different hosting companies, I have finally come back to Bluehost and would recommend them as being one of the best I have used. They make the technical stuff easy when you are starting a blog or any website.
Some things to note.
Firstly, you pay for the whole year up front.
Secondly, the first time you purchase, whether you pay for 1 year or 3 years, the plan is relatively cheap per month. But always take note of the regular price of the plan going forward, because the rates do go up a bit.
Finally, always remember you can move to another hosting company but it’s very tedious and can result in downtime for your website.
Go to Bluehost and choose Hosting -> Shared Hosting to get your hosting plan and take the first step.

2. Secure your domain name
Hopefully, you’ve decided on what you want your blog to be called. One of the most important parts to starting your blog is to get your domain name. In your first year, your domain name could be included for free with your web hosting plan. So look into that when you purchase a plan.
You can check at anytime whether the domain name you want is available, by simply typing the full address you want, like, mywebsite.com, into your web browser. If’s it’s not taken, a page won’t load.
But the only way to know for certain is to go to a webhosting site, and do a domain name search. It’s a good way to make sure the name you want for your brand is available, and that initial search does not cost a thing. You are only searching.
3. Set up WordPress
Now that you have your account, you can log in, because you are half-way through with starting your blog.
We are going to create a WordPress site. Bluehost might have a wizard to help with the setup when you first log in. But if not, here’s how you can do it by yourself.
Click on the Advanced link in the Bluehost menu. The Advanced link takes you to your cPanel. This is the backend and where you manage your hosting plan. You can set up email accounts based on your domain name and lots of things as you can see. For now, we want to set up WordPress.

Scroll down your cPanel page to the Software section and click the Softaculous Apps Installer. Most webhost, using cPanel have helpful installers like this to install and configure your sites easily, as you can now see.
After clicking the Softaculous Installer, a number of scripts will be seen on the page. Click the Install button under WordPress.
Follow the steps on the WordPress install page. Make sure to enter your blog name, an email address which you will use to log in to your backend and click to install.
Once WordPress is installed you will be able to log in to the backend to administer your site, and fine tune things.
Just a side note here. These steps you are following here, don’t only apply to installing blogging software as you can see. You can install a ton of different applications, that are free to use, to benefit your purpose with an online site. That again, can be another post. But let’s continue.
4. Install a Theme
Now that you have installed a basic WordPress site, you can change the design very easily, choosing from the wide array of themes out there. Themes will be how you customize the look of your new blog. There are free and paid themes available, so you decide what you want for your design based on your budget.
In your WordPress backend, which you get to by going to –
youwebsite.com/wp-admin
Log in and go to the Appearance menu link and click on Themes.
There are default, generic themes automatically available. Click on any theme to Activate. You can then go to your website to view the new design. It’s that easy.
To browse for other free or paid themes, click on the Add New Theme button, and browse the wide variety you discover.
Once you have your theme activated, all that’s left is to start writing your blog posts and continue to customize your site. Using WordPress might be another topic.
You have a Blog
There are lots of features and add-ons available for WordPress, so go ahead and explore.
You now have an awesome site installed and an easy way to manage it. You see, starting a blog wasn’t that hard and you did this in 4 easy steps.
Hope you were able to follow along and got some good tips to help you get your blog up and running.

